|
Please, read normal installation instructions first.
To install EurekaLog under a limited (non-administrator) user account - please follow these steps:
| 2. | [Optional] Use "Start Menu" / "Programs" / "EurekaLog" / "Manage EurekaLog in IDEs" menu item to enable EurekaLog in your IDEs. Run it under the same administrator account (with elevation). Expand category for your IDE and click on the "Register EurekaLog 7 (recommended)" button. This will copy necessary files. You should take this step only once. This step is typically not required, as installer will register EurekaLog by default. |
| 3. | Switch to the limited user account. |
| 4. | Use "Start Menu" / "Programs" / "EurekaLog" / "Manage EurekaLog in IDEs" menu item to enable EurekaLog in your IDEs. Run it under limited user account. Expand category for your IDE and click on the "Register EurekaLog 7 (recommended)" button. This will perform per-user registration. Repeat this step for any other user account. You can register / unregister EurekaLog on per-user basis. |
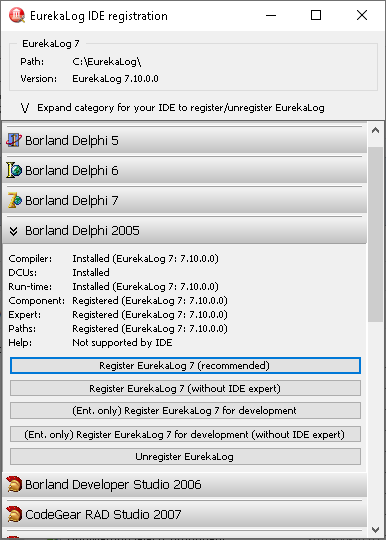
"Manage EurekaLog in IDEs" tool
See also:
|
Send feedback...
|
Build date: 2026-06-30
Last edited: 2025-04-01
|
PRIVACY STATEMENT
The documentation team uses the feedback submitted to improve the EurekaLog documentation.
We do not use your e-mail address for any other purpose.
We will remove your e-mail address from our system after the issue you are reporting has been resolved.
While we are working to resolve this issue, we may send you an e-mail message to request more information about your feedback.
After the issues have been addressed, we may send you an email message to let you know that your feedback has been addressed.
Permanent link to this article: https://www.eurekalog.com/help/eurekalog/limited_users_install
|
|


