Filtering data |
  
|
Filtering data |
|
|
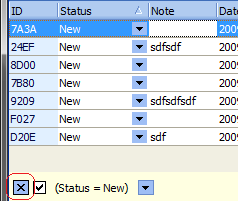
Simple filtering To perform a simple filtering (for example, to show only new reports) click at the right corner of the column's header and pick up a value to show. Any reports that have other value for the selected column will be hided. At the bottom of the list there will be list of conditions for filtering.
Disable filtering To disable filtering just click on the "X" button at the bottom left corner of the list (just to the left from the conditions bar):
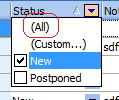
You can also disable filtering by any particular column by selecting "(All)" from column's filter list:
Complex conditions You can use arbitrary complex conditions to filter data. For example, you can not only filter data by specific value of the column (see simple filtering above), but also set any condition on the column. To to that just select "(Custom...)" value from popup filtering list instead of any particular value:
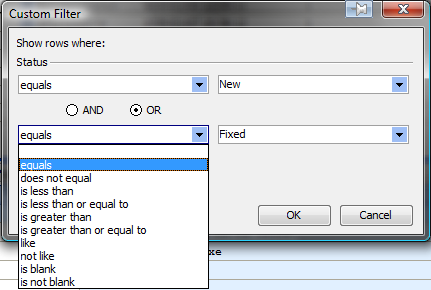
In this dialog you can set complex condition on one column:
Conditions on multiple columns After you've set filtering by one column, you can also add filtering of the resulting list by several more columns. Just click at the right corner of the any other column's header and select filtering condition from popup list. Condition bar now will contain condition on two columns and list will be filtered by these conditions. You can always add or remove more conditions on the other columns.
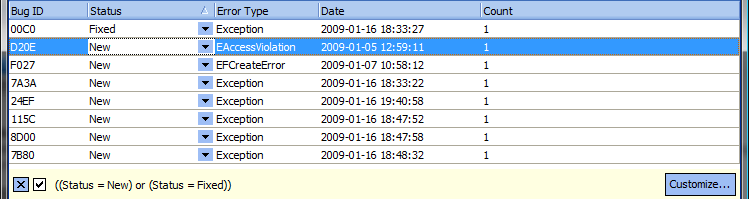
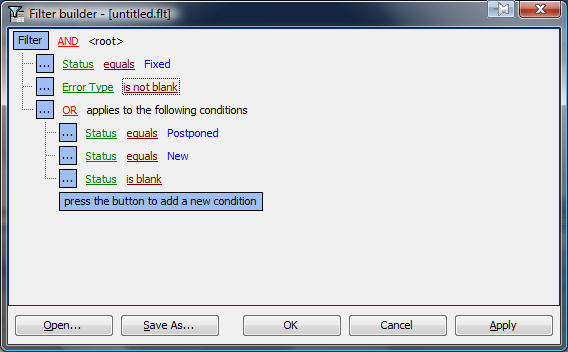
Arbitrary conditions To set arbitrary complex condition click on the "Customize..." button at the bottom right corner of the report's list (this button appears only if filtering is set, so you must define filtering data on any column first):
There you can click on blue buttons to add more conditions or condition groups (there are two groups on the example above - the root "AND" and child "OR"). To remove condition or group just click on the corresponding "..." button and select "Remove Row" from popup menu.
To change conditions you can click on green, red and blue parts of conditions and select values from popup lists or typing them directly into the edits.
You can also use button "Save as..." to save all conditions to flt-file. You can load it later by using the "Open..." button.
Other actions
| ||||||||